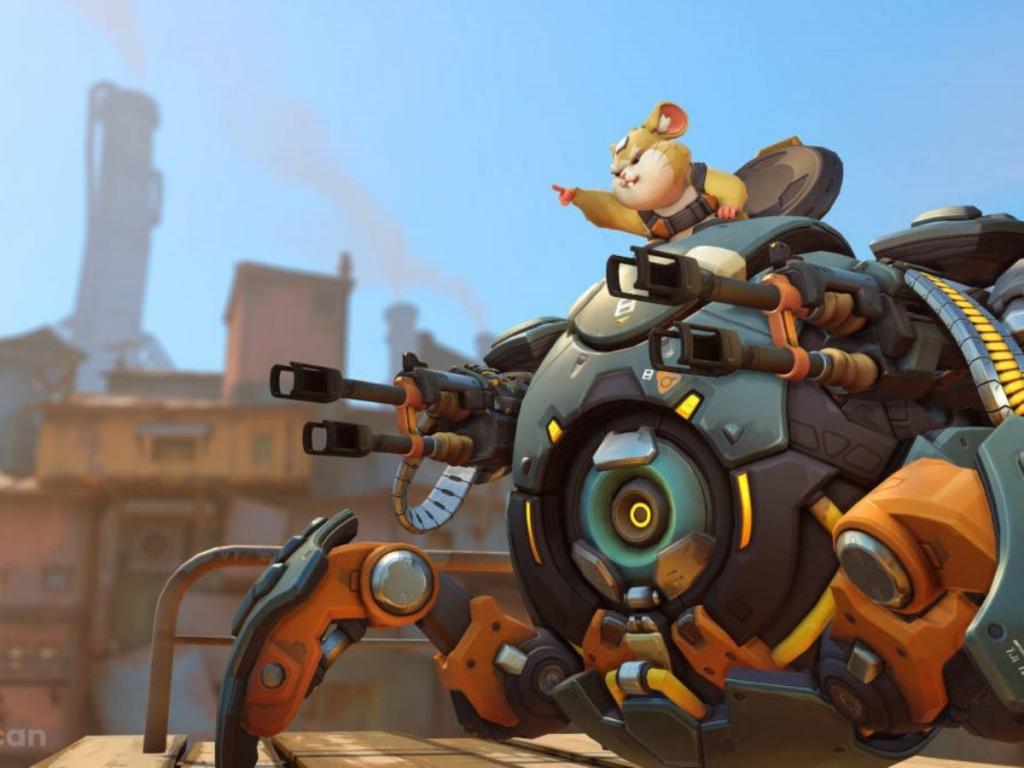
Hammond (also known as Wrecking Ball), a highly intelligent hamster in a robot suit that serves as a mobile tank, debuted on the Overwatch roster in 2018.
- How To Keep Your Laptop Cool While Gaming Update 07/2026
- Overwatch Reinhardt Guide. General Tips for Playing Reinhardt Update 07/2026
- Tunic Release Date, News, Trailer and Rumors Update 07/2026
- What Are NVIDIA CUDA Cores? How Many CUDA Cores Do You Need? Update 07/2026
- How To Use A Ps4 Controller On Pc Mac Update 07/2026
With the help of our Overwatch Wrecking Ball guide, you’ll learn the most effective tactics for piloting a mechanized rodent.
Bạn đang xem: Overwatch Wrecking Ball Guide: Helpful Tips and Strategies Update 07/2026
Check out our Overwatch Beginner’s Guide for more information on hero roles, team composition, and winning strategies.
Wrecking Ball Abilities and Role Explained
As a tank hero, Wrecking Ball is the most mobile tank in Overwatch because he can switch between Roll and Walker modes at any time.
While actively engaging and disengaging with the adversary, a competent Wrecking Ball player will focus on area control and generate opportunities for his teammates to secure kills.
Here, we’ll discuss how to use Hammond’s unique moveset to your advantage and identify his strengths and weaknesses.
How To Use Quad Cannons
Wrecking Ball’s Quad Cannons, four automated assault cannons that excel at medium range damage due to their falloff range and large bullet spread, are his primary fire.
The first two bullets Hammond fires are dead on, but the bullet spread will widen as he continues to fire until he runs out of ammo.
Fast rate of fire and limited ammo make Quad Cannons suitable for short encounters, such as finishing off low-health opponents.
Ineffective against opponent barriers and large healthpool heroes, although you can increase their survivability by using melee attacks and Hammond’s other skills.
How To Use Roll
To disrupt an opposition team, Hammond’s ability to transition between tank and rolling ball allows him to smoothly enter and exit combat.
Hammond’s maximum speed can be increased to 10 meters per second by entering Roll form at any point, even in midair.
In addition to becoming impervious to headshots, he can also roll faster downhill and without penalty uphill while in Roll form.
When Hammond tries to shoot or is hacked, asleep, pinned, hooked, or knocked down, he will immediately exit Roll mode and transition to Walker mode.
How To Use Grappling Claw
Hammond’s Grappling Claw is without a doubt his most effective weapon in combat, and he has been dubbed “Wrecking Ball” for it.
Hammond is able to swivel around a contact point with gravity when the claw is activated and the user points it in the desired direction.
Hammond gains +100% speed and deals 50 damage to any enemies he hits while also knocking them back up to 10 meters if you can swing him a lot.
This occurs when Hammond hits 15 m/s or greater in his swing.
How To Use Piledriver
When Hammond’s Grappling Claw is used correctly, it opens up other ways to deliver damage, such as the Piledriver.
To slam into the ground, you must first climb to a height of at least 2.25 meters above sea level before using the Crouch/Toggle Crouch key.
Keep in mind that Hammond will first move 4 meters ahead before slamming down, despite the ability’s effective radius of 8 meters.
Piledriver knocks adversaries into the air for a brief period of time, allowing teammates to take advantage of the opportunity.
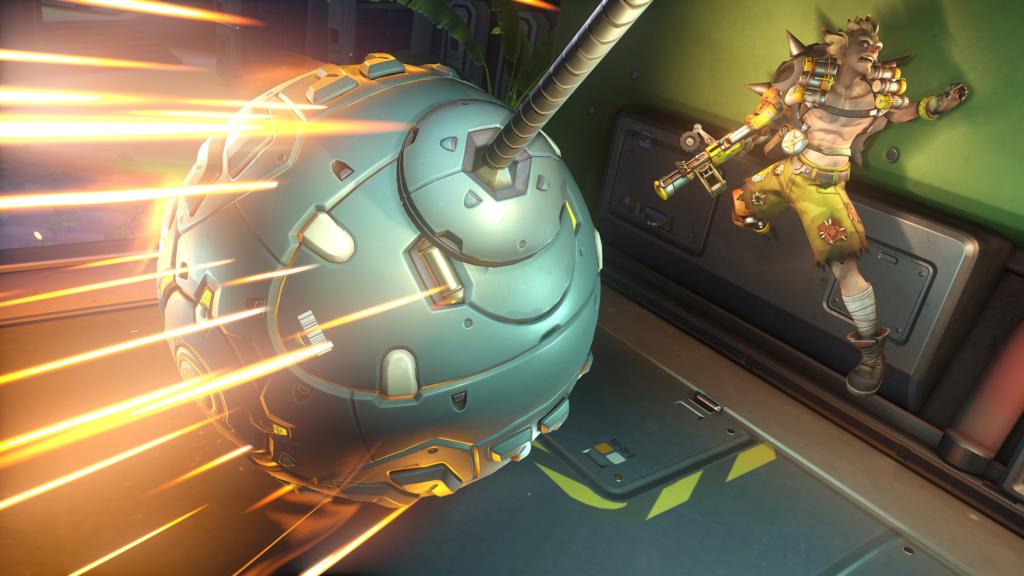
How To Use Minefield (Ultimate)
It takes 20 seconds for 15 of Hammond’s proximity mines to detonate when they come into contact with an enemy, making it his ultimate ability to create a Minefield.
There are three rings of mines that are organized in three concentric circles and cling to any surface they come into contact with.
A high-pitched noise and the potential of splash damage from a mine’s explosion are both possible if the adversary gets too close to one of Hammond’s mines.
Finally, once Hammond’s mines have been planted, he can begin restoring Ult charge, however any damage he has inflicted will not be counted.
Wrecking Ball Strengths
As if Hammond’s high mobility and poor damage output weren’t enough, his best feature is his incredible mobility.
While rolling about the battlefield, he’s at his best because he distracts the opposition team from the main objective.
Xem thêm : Animal Crossing: New Horizons Guide – How To Earn Bells Quickly? Update 07/2026
If you want Hammond to be a secondary tank, he needs a more typical tank alongside him, as we’ll see in the following section.
Which Heroes Combo Best With Wrecking Ball?
- Hammond’s Ult and Sigma’s Ult can be used to cause tremendous amounts of damage in a small area.
- If you’re Orisa, you’ve got the Halt! capacity to draw foes into Hammond’s Piledriver or Minefield’s range.
- Playing the main tank role, Reinhardt frees Hammond to play more aggressively and generate opportunities for the squad.
- Together, Hammond and Doomfist can put a lot of pressure on the opposing team, causing them to be thrown to the ground and back up in the air.
- With the help of his Steel Traps, Junkrat can keep opponents in place long enough for Hammond to land a Piledriver or a swinging roll.
- Sombra – Hacks the powers of foes to prevent them from escaping Hammond’s fury.
- With his Graviton Surge, Zarya may draw foes into his Minefield and defend Hammond.
- Hammond can walk about freely while still recovering HP thanks to Zenyatta’s healing orbs.
- Moira has the ability to heal Hammond both up close and from a distance.
Wrecking Ball Weaknesses
With that in mind, we’ve previously discussed some of the shortcomings of Hammond’s tank, such as his low damage output and weak defenses in comparison to other tanks.
Because Overwatch is a numbers game, Hammond’s chances of winning are slim when he has to deal with more than one enemy at a time.
On temporarily deactivate Hammond’s Roll mode, look for heroes that may apply a status effect to him.
Which Heroes Does Wrecking Ball Struggle Against?
- It is possible for Brigitte to disrupt Hammond’s momentum with her Whip Shot.
- Due to Zen’s Orb of Discord assignment, which boosts damage taken by 30%, Hammond becomes highly vulnerable.
- Can resist Piledriver and other swing strikes using Fortify and can even use Halt! to pull Hammond away from his opponents..
- It’s hard to kill Roadhog because he has a big healthpool and healing skills, making him a tough target.
- Hammond’s shield and health can be ripped apart by Zarya’s maximum charge, while Graviton Surge prohibits Hammond from activating any of his powers.
- Bastion – Hammond’s sentry mode renders him resistant to Bastion’s abilities, but his massive damage output makes him a menace.
- The rocket punch of Doomfist allows him to quickly avoid Hammond’s strikes and break the grip swings of his opponent.
- McCree — Has a long-ranged flashbang attack that may deliver a lot of damage to Hammond while also preventing him from escaping.
- You have the ability to use your fire and ice walls to immobilize and heal yourself while you freeze Hammond.
- Pharah – Can use her Concussive Blast to drive Hammond off target and operate beyond of Hammond’s effective range.
- Sombra – Once Hammond is hacked, Sombra and her supporters are able to bring him down with ease.
General Tips for Playing Wrecking Ball
The difficulty of mastering Hammond’s kit becomes evident when you examine how unique his playstyle is compared to other Overwatch characters.
To become more proficient with Wrecking Ball, you’ll need to put in a lot of time practicing on various maps to develop a feel for his movement style and pinpoint chokepoints where he’ll be most useful.
We’ll wrap up this guide with a few more pointers that can prove useful as you work to develop your skills and go up the ladder.
- Quick engagements disrupt the enemy team and prevent them from securing a territory, so be on the lookout for them.
- Get to know where the health packs are on each map as Hammond will be spending a lot of time alone.
- Refuel your health, restock your shields, and rally your crew before a major assault.
- Grappling Claw and Piledriver can be combined to swiftly earn a large amount of ultimate charge.
- Once you have the Minefield set up, begin a combination by driving into the ground and then activating Hammond’s Ult.
Quad Cannons (Primary)
When it comes to Wrecking Ball’s damage output, the off-tank can be quite devastating. A shot from his Quad Cannons, which are the primary source of his damage, inflicts 5 points of damage. At first glance, his rate of fire is low, but he can fire 25 rounds per second, for a total of 125, and that’s before factoring in his ability to headshot, which increases his damage even further.
This allows him to take out squishies in a matter of seconds with his 80-round ammunition Quad Cannons. As with D.Va’s weapons, his weapons feature a damage falloff and spread that is more apparent from a distance.
Despite his primary’s high damage, his Quad Cannons have a considerable reload time. Because of this, it’s crucial to keep in mind that he has a large ammo clip. It’s possible to avoid the discomfort of reloading in the middle of a conflict by simply escaping the situation and reloading Hammond’s ammo in peace. That will be the subject of a future post.
Grappling Claw (Secondary)
Five seconds of cooling off time.
The Grappling Claw is Wrecking Ball’s most distinctive mechanic. It’s his secondary fire, but it’s quite valuable in a team fight because it allows him to move around the battlefield in an unpredictable way. Using Hammond releases a claw that latches onto any wall or item in the map’s environment. It is possible for him to swing for an unlimited period of time after he has connected himself to the thing he is linked to.
Any foes that are in the way of Wrecking Ball’s speedy mech will take 50 damage from his flaming mech. As a result, it may also cause an opponent to be pushed into a corner or off the battlefield. Wrecking Ball has a significant impact on the outcome of a battle if he is in the ideal posture or a choke point. When he’s in the right spot, he can swing continually, striking many targets and dividing the squad in half, making cleanup easier for the rest of the team. Experimenting with it is certainly recommended.
In Wrecking Ball, finding a height advantage is a crucial part of the gameplay. Because he can’t grapple high, you’ll need to use your mechanics to swiftly swing or create momentum if you want to use him as an engage hero with his Piledriver ability. The Grappling Claw is a vital tool for making the most of Wrecking Ball, thus it is imperative that you utilize it in a variety of ways. A private server can be a great way to learn about the hero’s abilities, and there’s no harm in trying them out on a different map each time. After all, knowledge is a potent weapon.
Roll (Ability)
Wrecking Ball is a fast and nimble hero who is also a lot of fun to play around with. With the rest of his equipment and his Roll ability, he has some of the best mobility in the game. Without the usage of his combined abilities, his stand-alone rolling speed is still far faster than most other heroes in the game.
It’s possible to employ roll in any position, even in mid-air. Allowing him to use his Quad Cannons whenever necessary, he can morph at any time.
Additionally, you may facetank without taking too much needless damage because Wrecking Ball’s Roll is impenetrable. When you’re receiving a lot of damage in your hamster form, you should try to transform to Roll as quickly as possible and wait until you’re no longer in danger before doing so.
Piledriver (Ability)
Ten seconds of cooling off.
Hammer’s Piledriver, an area-of-effect damage ability, knocks down all adversaries in its vicinity. Because you can only use it if you’re at least 10 meters above the ground, you’ll have to master his Grappling Claw in order to soar above your foes.
A hundred damage is dealt to foes directly in front of you, while a smaller amount is taken from enemies further out in range, depending on how far away you are from them when using this ability. In addition, it only hits foes who are directly in front of the user.
When Wrecking Ball uses Piledriver to take down a weak hero, you can use his primary fire to finish them off quickly and easily. You shouldn’t be hesitant to go for the kill or to deal extra damage even though Wrecking Ball is a tank. As a result, Wrecking Ball’s gear makes it possible to leave and rejoin a team fight at any time.
When combining Wrecking Ball’s skills, it’s a safe bet to swing at an enemy with Hammond’s Grappling Claw, knock them back, and then follow up with a Piledriver, which is typically inevitable.
Wrecking Ball’s momentum will be halted for a split-second when Piledriver is performed, causing it to fall to the ground. The enemy may be able to simply kill him or dodge him if he’s not paying attention.
Adaptive Shield (Ability)
15-second rest period following exercise.
It is Wrecking Ball’s only defense, except from his intrinsically large hit points. It provides a shield of 100 points for each adversary within a 7-meter radius. His shield could get an additional 600 hit points if he uses all of it.
When it is damaged, the shield doesn’t grant the enemy ultimate charge, and it lasts for up to seven seconds at most. It’s a simple ability, but when combined with his outstanding ability to hard engage, it’s extremely effective.
Minefield (Ultimate)
Damage-based abilities such as Wrecking Ball’s ultimate can be employed offensively or defensively. In order to employ him, an opponent hero must trigger one of his 15 mines, each of which deals 130 damage. Because they can be disarmed in less than a second, this is a significant problem. They’ll also vanish after 20 seconds if nothing is done to activate them.
Even though there is no health bar on the mines, each one has 100 hit points, making them easy to destroy. It’s possible that the mines will go off before the enemy heroes have a chance to react, resulting in massive area-of-effect damage, but this is rare.
Xem thêm : Tony Hawk’s Pro Skater 1 + 2: Tips And Tricks For Beginners? Update 07/2026
With his ultimate, he may secure frags by planting mines against a wall or a tight area. Rather than being spread out, the mines will pile on top of each other, resulting in massive destruction if set off. Combined with Wrecking Ball’s Grappling Claw and Piledriver, the ultimate can also knock the other team down and drop them into the Minefield of his own team.
A excellent zoning tool, Minefield is a lot like D.Va’s ultimate when you don’t care about dealing damage to your opponents. If the other side has to spend a few more seconds destroying his mines, it could make or break the outcome of a battle. It can also easily divide a team, allowing them to be misplaced and pulled out of the game altogether.
Gameplay
Unlike D’Va, Wrecking Ball has a similar play style. In spite of his tanky stature, he can’t save his teammate from harm. There isn’t much he can do to shield his squishy healers or overzealous damage dealers other than his ultimate or body block. When paired with a main tank like Winston or Orisa, he’ll be most effective.
In spite of this, Hammond’s capacity to engage means that his tanking duties are put on the back burner. Aim for a high ground, then look for ways to use Wrecking Ball’s Piledriver or get an advantage in height. You’ll get the most out of Hammond if you can put together a strong team around him or at least not too far behind him.
As a Wrecking Ball, you’ll want to join in on the action as much as possible. He’s tough enough to take damage and walk out of a fight if things aren’t going your way. He can be knocked out of position and picked off, but with the help of his teammates and his Adaptive Shield, he’ll be hard to burst.
Wrecking Ball’s primary objective is to pick out enemies. You’ll be trying to get an advantage in height by flanking or positioning yourself where other heroes like Tracer and Sombra are likely to be flanking you. In order to take advantage of this, you should try to irritate and displace them as much as possible or take them out one-on-one with his tanky prowess.
Wrecking Ball is an excellent dive hero, and you should take use of this by diving for backline squishies and enlisting the help of your teammates. Tracer or Genji can finish them off for him while he takes the majority of the damage. In order to delay and distract your foes, he is the perfect assist hero and should be employed repeatedly. You should take advantage of his damage and tankiness, as well as his mobility, to make him an incredibly dangerous hamster.
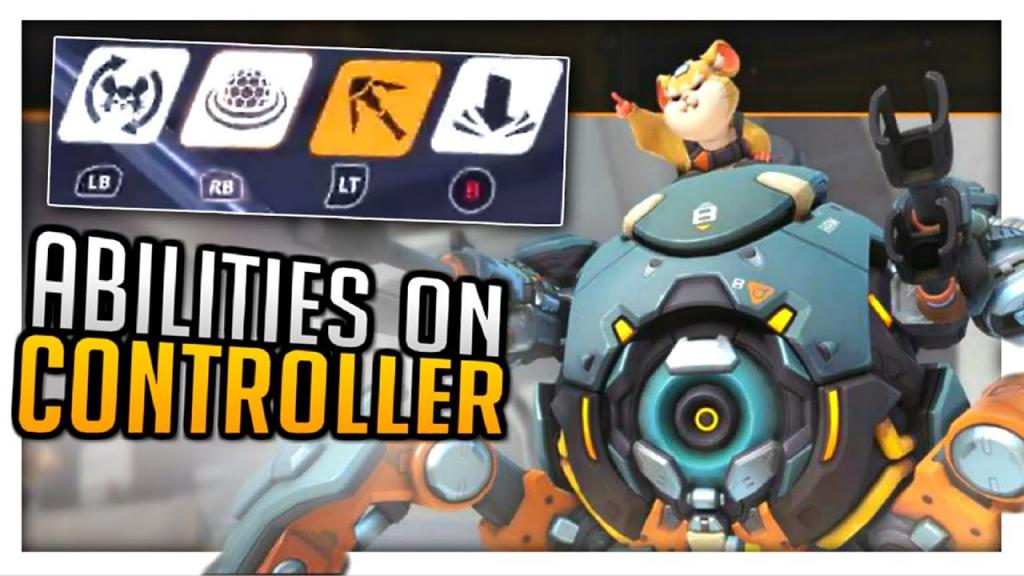
Wrecking Ball’s Abilities
- Automatic assault weapons, the quad cannons (LMB).
- Transform into a ball and boost your maximum movement speed by using the L.Shift [Roll].
- Grappling Claw [RMB] – Quickly swing around the area with a grappling claw. The ability to deal high-speed damage and knockback to foes is enabled.
- Shield [E] – Create personal shields that can be used in the event of an emergency. With more foes close by, the amount grows.
- Deploy a large number of proximity mines in a large area.
- You can use this weapon to slam into the earth below, causing damage and sending foes flying upward.
How To Move as the Wrecking Ball
The ball’s maximum speed is a mechanic. By burning up in flames, the Mech tells you that your speed has reached its limit. In order to accomplish this, all you need to do is create short grapples that drive you further and increase your speed. Most of the time, you aren’t intended to be grappled for more than a second at a stretch.
There are three ways to grapple for speedy movement on the ground (you can’t grapple yourself onto the ground either!)
- Perpendicularly move onto a wall using your hands.
- Before you take off, grab hold of something above you and let go of it.
- Pull yourself up by grabbing a hold of the wall in front of you.
How To Fight
In Hammond’s case, It’s possible to body slam adversaries underneath you with the Piledriver [L.Ctrl]. Follow up with a left click fire after you’ve knocked them down. Starting at maximum speed and knocking them backward with Piledriver and primary fire is a combo that you can use.
An adaptive shield [E] should be utilized when there are many enemies around you, so that if your team doesn’t follow up or you try to 1v1 someone while you have a lot of shield on you, it’s possible to roll in and use it and then roll out.
The limit of human potential. It’s preferable to activate the minefield before using the piledriver and then follow up with the piledriver after that. That manner, the mines have enough time to go off before you arrive. The minefield will not be able to spread out properly if you manage to corner an enemy, thus many of them will clog up in the corner where your enemy is.
Doomfist and D.Va are good starting points for you. You’re a tough cookie, but you can take out a target if you isolate them. You’re also a disruptive tank, but your cooldowns make timing vital. The best way to engage is to take the high ground, use Piledriver to initiate above their heads, and then protect yourself with your shield.
Try to achieve a kill, but if that’s not possible, grapple out of harm’s way. With your range and ability to focus in on a single target, you’re an effective counter to snipers. Be a bully and disrupt the opposition team by focusing on the weaker members.
Wrecking Ball Counters
- The shadow – The EMP could disable your large shield and her hacks are quite damaging.
- Due to his short-range specialization, Reaper can deal a significant amount of damage to you.
- Like Reaper, Roadhog may catch you in mid-swing and slam you to the ground.
- Another round of close combat damage.
Wrecking Ball Tips & Tricks
First, the Grappling Claw does not pay attention to the line of sight.
Because you’re not a main tank, you should always play Hammond with another member of the group who is.
When you spot flankers like Sombra or Tracer, your duty is to shut them down and take their kills.
While in Roll form, you are unable to activate your shield. It can be used before or after rolling.
Using a minefield can be used to keep attackers out of a region, but it can also be used in conjunction with other tools, like the ones we discussed in our article above.
Minefields can be activated in less a second.
Using grappling hooks to increase momentum beneath bridges and such is a good idea.
Gather heroes who can push people into your minefield when you need them.
You don’t want to roll into the other team or initiate without your squad following up, so communicate with your team.
Use Piledriver near the mines, not on them, to clear opponent Hammond’s mines.
FAQS:
How good is Wrecking Ball overwatch?
Wrecking Ball is a fast and agile hero who is a lot of fun to play as well as a lot of fun to use. With the rest of his equipment and his Roll ability, he possesses some of the best mobility in the game.
When should I use Wrecking Ball overwatch?
Piledriver is the ideal technique to use Wrecking Ball’s ultimate, because adversaries are knocked up in midair when Wrecking Ball is used. Always have Wrecking Ball on the prowl for squishy foes. You should try to enter into the room, remove your combo, and exit safely.
Is Wrecking Ball hard to play?
It’s difficult to play Wrecking Ball as a professional. His most notable trait is that he requires a lot of cooperation from others. It’s difficult for him to play if his teammates aren’t there for him…. There will be a lot of Reinhardt and Winston, but there is a chance for Wrecking Ball to make an appearance.
Conclusion:
When used correctly, Wrecking Ball can be a ridiculously good and entertaining hero. Check with our Overwatch Coaching service to find a coach who plays WB if you’re still failing to reach your ideal Skill Rating as Hammond. There is no doubt that a coach will benefit you and help you unlock your full potential in the sport. Let us know what you think!
Nguồn: https://gemaga.com
Danh mục: Guide