Read this Satisfactory guide for beginners if you want to get started on the right foot. You’ll learn everything you need to know to be successful.
- World War Z Guide: A Few Tips to Remember Update 07/2026
- Pokemon Sword and Shield Guide: How To Use Evolution Stones? Update 07/2026
- New Horizons Guide: How To Get DIY Recipes in Animal Crossing? Update 07/2026
- How To Get New Passengers In Spiritfarer? Update 07/2026
- Upcoming Steam Sale Dates. What You Need To Know? Update 07/2026
As of now, Satisfactory is one of the most sophisticated base-building games on the PC, allowing you to develop enormous factories with automated machines and even vehicles.
Bạn đang xem: Satisfactory Guide for Beginners: Tips and Tricks Update 07/2026
While this makes it an excellent addition to any library, the game’s multiple systems and features can be difficult to grasp for a novice player just starting started because of the high degree of intricacy required.
As you progress through Satisfactory’s learning curve, we’ll provide our best advice for those just starting out. For those of you who haven’t had a chance to learn about automation, exploration, and manufacturing, now is the time.
Use The Hotbar And Hotkeys
You can easily move between different tools and manufacture equipment with the use of hotkeys in this game. The following are the standard hotkey actions:
- To open the inventory, click on the tab
- Open the Build menu.
- Toggle Demolition mode with F
- On or off: V – Use the flashlight
- The Resource Scanner can be found under C. (Hold down C to select resource type)
- Clicking on the letter C will bring up the options for your vehicle.
- Inbox and schematics can be viewed by clicking on X
- Open Map with Z
- While constructing, hold down the space bar to keep going.
- It’s time to take a picture!
You can also utilize the hotbar to set different building recipes to different keys on your keyboard in addition to hotkeys. It’s great for buildings you’ll make again and again, since it eliminates the need to open the Build menu each time.
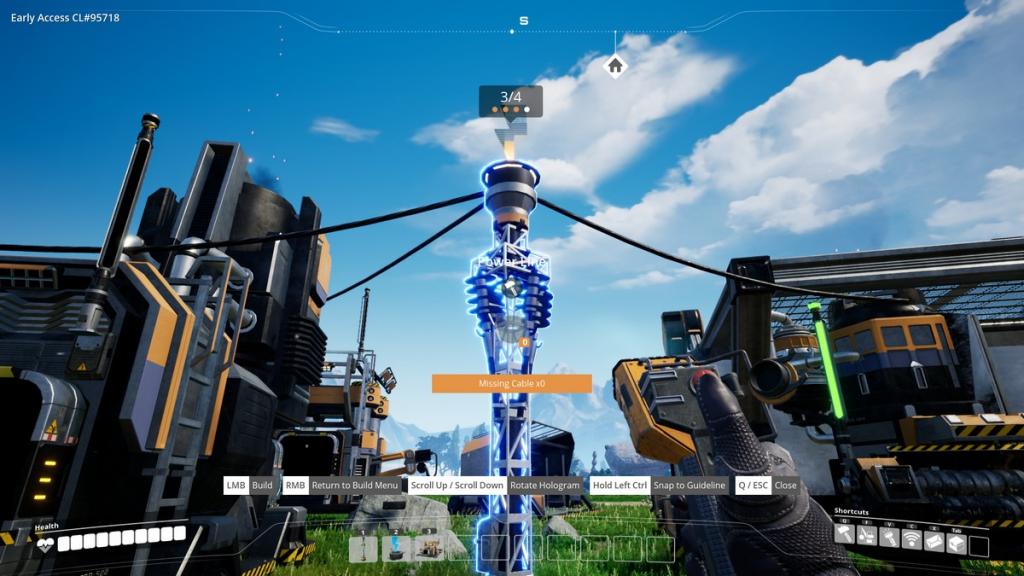
![Satisfactory Guide: Beginner Tips and Tricks [2022 Guide]](https://gemaga.com/wp-content/uploads/2022/03/satisfactory-beginner-tips-and-tricks-img_6232e30675d1d.jpg)
Watch Out For Wild Animals
Each biome is home to a variety of wildlife, some of which are more dangerous than others. Because encountering flying crabs is inevitable, and you can usually tell if a species is hostile just by looking at it, why not get it out of the way now?
If you want to kill an animal before it kills you, you’ll need to study its unique assault patterns and tendencies. You’ll want to be on the lookout for hogs, spitters, and flying crabs as you venture into the wilderness.
Heal Yourself With Nuts And Berries
Beryl Nuts and Paleberries can be used to heal yourself in the case that you’ve been injured by any variety of threats. It is possible to find little shrubs or trees of this type growing naturally in all biomes.
Give Yourself Enough Room To Build
There are certain considerations to make when constructing your first base. Putting down roots at the first resource you come upon can be tempting. Although it’s not a bad idea, you should also take into account the region around the property.
Put your equipment down on a flat surface, which will make it much easier. It’s also important that you avoid building too close to trees or bushes because they can obstruct your view, interfere with the placement of equipment, and cause damage.
Foundation tiles can be used to form a vertical base in the sky. Rebuilding your base is tempting when you hit certain milestones, but we recommend maintaining the original and creating a new one based on all you’ve learned along the way.
Stick To Harvesting Resource Nodes With ‘Pure’ Ratings
Every resource node in Satisfactory is given one of three ratings: “impure,” “normal,” or “pure”. It’s critical to distinguish between the three categories. Pure nodes create twice as much material as impure nodes, but at a lower cost. The material production of an impure node is a mere halve that of an ordinary node.
As a result, using pure nodes should be your first priority if you want to maximize efficiency. Prior to establishing a miner on top of a node, make sure to gather the surface chunks of material first.
Build Smelters And Portable Miners As Soon As Possible
Once you have the blueprints for both portable miners and smelters, you should begin building them immediately. Early on, the use of portable miners, which can be transported to resource nodes, can help increase production. In light of the foregoing, it is highly recommended that you obtain a Miner MK1.
Smelters are required to transform raw resources into ingots and finally made products. Place them near your miners so that you can quickly attach conveyor belts and begin automating the process.
Plan And Organize Ahead Of Time
You should always think about the future of your factory, even if you’re just looking at barren land. Then, you can begin to take steps toward that future vision. Consider the layout of your current base as you gain experience with new equipment and resources.
Because Satisfactory places a premium on speed, you’ll want to make sure your Engineer can go from point A to point B as rapidly as possible. To avoid drowning in power lines and conveyor belt spaghetti, it’s best to keep things orderly from the outset.
Set Up Biomass/Biofuel Automation Lines
Even if power consumption isn’t a big deal in the beginning, being aware of it might save you a lot of grief in the long run. In the end, you’ll have to feed dozens of biomass burners in order to keep your equipment running.
By unlocking solid biofuel, the procedure becomes much more time-consuming and labor-intensive than it is for making biomass by hand. As a result, we suggest automating the production process.
Xem thêm : How To Install A New Graphics Card Update 07/2026
To create biomass or, better yet, biofuel, you’ll need a storage container and a constructor. To store the biomass or biofuel for later use, transfer it to a storage bin.
Once the initial storage container has been filled with the necessary materials, you should be able to rely on automated systems to handle everything else.
Using The MAM And Power Slugs
Research and obtaining power slugs should be your main priorities after your factory is operational and your power supply is stable. The Molecular Analysis Machine (MAM) is used for research.
By putting data into the MAM, it may be examined over time, leading to the development of new tools and equipment that can be crafted. Power slugs, which emit a green or yellow glow, are among the most important examples to study.
Overclocked production and the ability to make power shards from slug material are two benefits of researching power slugs. If you have both unlocked, you’ll be able to increase or decrease the output of your machines to save fuel.
Focus On Research And Completing Milestones
In Satisfactory, the key means of progressing is by achieving milestones and carrying out research projects. With the MAM and the HUB Terminal previously covered, let’s move on to the actual research process. To some extent, it serves as a point of contact between your character and the central office of the Federation of Independent Computer Societies (FICSIT).
Pick and send Milestone materials from the HUB Terminal, where you can browse and select all accessible Milestones. For some Milestones, completing their prerequisites can open up additional equipment, buildings, tools and emotes, among other possibilities.
General Tips To Boost Efficiency
The following are some general pointers for speeding up production and exploration, as well as making your Engineer’s job a little bit easier. Check back in the future for more advice!
Production Tips
- Manual crafting can be sped up by pressing the spacebar rather than the left mouse button.
- To take or add a complete item stack from/to your inventory, hold shift and click it.
- Instead of +1, press the shift key before adding an item to your To-Do list.
- Vehicles can be used to create a variety of products, eliminating the need for several workbenches.
- Faster biomass collection is made possible by early access to the chainsaw.
- Hit tab to open your inventory while harvesting manually with E and your Engineer will continue to gather.
Exploration Tips
- You can equip or remove tools from your Engineer by just clicking twice on them in your inventory.
- Getting into a nearby car before landing will protect you from any injury you might sustain from a fall from a great height.
- Make improvised stairways and ladders out of raw materials like limestone by laying them out on the ground.
- Another low-cost option for quickly constructing stairwells is the use of conveyor splitters/mergers.
- The MAM also has research on Hard Drives, which can be used to discover new recipes.
- Dusk and nighttime are the best times of day to look for power slugs since their glow is most noticeable.
Ideal Starting Location In Satisfactory
Alright. After seeing the introductory video and landing on the planet, the player is told to equip their xeno-zapper and use their resource scanner to look for iron deposits. They will now follow the rest of the instructions. What’s next? Rather of racing to the nearest iron deposit, the player could choose to conduct a little exploring.
To be more precise, the player should look for iron nodes that are close to:
- Wire production is facilitated by copper nodes.
- To Make Concrete, We Need A Limestone Node.
- a reservoir of water for future piping needs
This should be a simple discovery for new players starting in the grassland region. However, those that begin the game in more desert-like biomes may have difficulties. If you have the resources nearby, you’ll have no problem meeting the demands of tiers 1 and 2 orders. When players deposit particular resources into the terminal or space elevators of the Hub, they can proceed through the game’s tier system (for tiers 3 and above).
Players will want to harvest any paleberries and beryl nuts they come across as they search for a good beginning position. Hogs, which tend to be found near resource nodes, are a common enemy for the engineer, thus these things will come in handy. Any leaves that the players come across will be of interest to them as well. Until the player discovers coal technology, the factory can run on the biofuel produced from these leaves.
Build Smelters And Portable Miners In Satisfactory
The first thing the player will want to do after finding a building area and setting up the HUB is to set up a few smelters. Ingot production may not seem like much, but it can save a lot of time because the player is likely to utilize their crafting bench a lot during the first few progression tiers of the game.
No storage containers or smelters are required by the player (although it is recommended). Because the smelter itself can hold up to 100 ingots, they can dig ore with portable miners and then manually put it into the smelters for smelting. In addition to commencing iron production early, the most important thing to remember in this stage is that the player can get used to experimentation and construction. Find out how conveyor belts flex, what links to what, and more. Overbuilding or repurposing has no repercussions thanks to the ease with which it can be dismantled.
Plan And Organize Ahead Of Time In Satisfactory
There is a chance that the player will be establishing production lines on the planet’s barren soil, therefore designing the future factory may not be necessary right now. Make a list of what products each building will be used for, how they’ll be fed into other equipment, and what the upper levels of your factory will be used for.
A factory that is easy to navigate will be beneficial to the player, as the goal of the game is optimizing output and efficiency. In addition to looking nicer, it will make things easier to adjust if the need arises. As a factory’s power system quickly becomes tangled if the player sets up many wire poles with various power sources, this holds true.
Here are a few pointers for getting everything in order:
- The Ficsit resource sink must be built. A particular number of Ficsit points can be redeemed for tickets at the Ficsit shop by using this system, which accepts things worth that many points. This shop carries a variety of organizational tools, including ramps and wall ports that can be attached. It’s a good idea for the player to feed the resource sink any extra resources they don’t intend to consume.
- Ensure that all power sources are kept in the same location. When fuses keep blowing, this makes it easier for the power grid to be resupplied and to troubleshoot the power grid.
- Intensify. At some point in time, the player’s factory will become a maze of conveyors where plundering any item type will send the player from one end to the other if they keep all their manufacturing lines at the same level.
GIVE YOURSELF ENOUGH SPACE
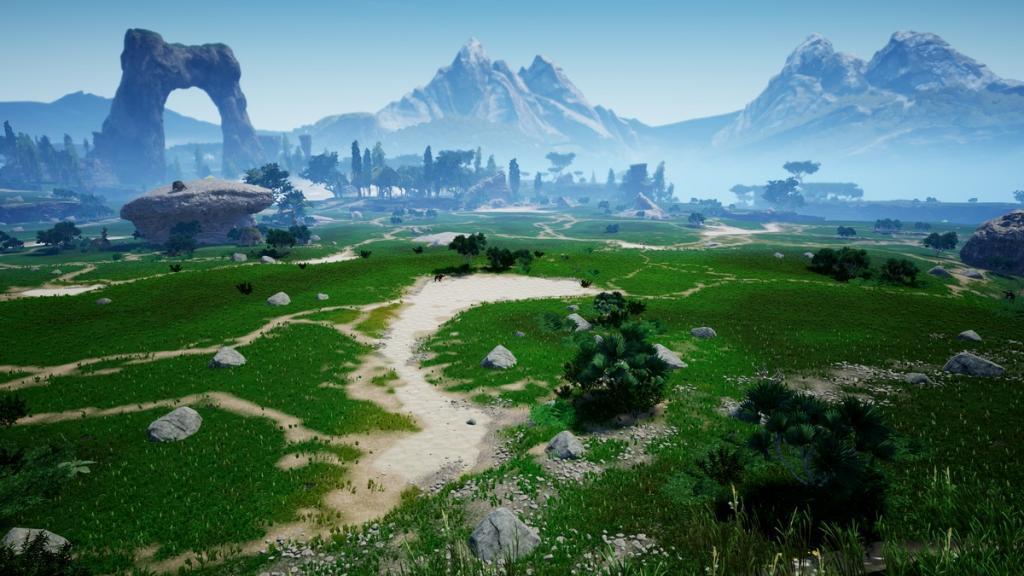
Whenever possible, begin building your plant in the largest, flattest places. You can save yourself a lot of stress in the long run if you spend a little time looking around for the most spacious spots. When you initially arrive, you’ll see some nice plains that are a good starting point.
RESOURCE NODES AND PURITY RATINGS
Impure resource nodes produce half the amount of resources as normal nodes, making them less useful. Pure nodes, on the other hand, are twice as large as conventional nodes. Avoid using impure nodes wherever feasible, as they slow down resource harvesting and item production.
As a side note, before you can create a miner, you must manually mine chunks of resource above the ground.
FOCUS ON YOUR MILESTONES AND RESEARCH
There are a lot of costs associated with milestones and research initiatives, but they’ll pay off in the form of new gadgets and time-saving discoveries. Get to unlocking as much as you can as quickly as possible.
TO-DO LIST AND MILESTONES REMINDER
You may also use the to-do list and milestone reminders to keep yourself on track with whatever project you’re working on, whether it be a new milestone or the construction of a piece of equipment.
It’s done by right-clicking an item in the Equipment Workshop or Build menu and selecting “Add to To-Do List.”‘ An itemized list of what you’ll need to build it appears on the right-hand side of your screen. If you want to keep track of numerous items at once, you can do so. A reminder will appear in the top-right corner of the resources you need if you pick these milestones.
POWER POLES
For the sake of keeping all of your structures powered, you will require power poles. Keeping in mind that each power pole can only have four items connected to it by power lines—including the power source leading to it—is critical. One of these spots should be left open so that you can connect to another power pole and have three additional options.
As an added advantage, power poles can be utilized as ladders.
HOW TO FIGHT HOGS
It can be difficult to cope with hogs at first. However, there are a few efficient techniques to combat them. An effective strategy is to leap out of the way as they come charging at you. Using your stun gun in mid-air, you may rapidly gaze downwards and hit them if you time it perfectly. The advantage is now yours.
Alternatively, if you’re quick enough, you can rush around them in a semi-circle to rapidly stun them from the side, if you’re quick enough. Taking them down is much easier once they’ve been knocked out.
Take note of the alien carapaces dropped by hogs. Keep these handy; you’ll find a purpose for them at a later time.
MAKE GOOD USE OF PORTABLE MINERS
Create portable miners in the Equipment Workshop and then equip and deploy them to a resource node. Drilling into the node will be carried out by them, without the requirement for a power supply. Those resources they’ve collected are yours to take, and each of them may hold up to 100 resources at a time.
You may not use portable miners in the long run, but they’re a terrific alternative to mining for minerals on your own.
KEEP AN EYE OUT FOR SLUGS
All throughout the Satisfactory map, big green molluscs known as Slug are present. It’s easy to detect them in the bushes thanks to their bright glow. Gather them even though you won’t be able to put slugs into a structure until you unlock it. So you can unlock new features and increase the performance of your constructions.
CRAFTING AND RESOURCE MANAGEMENT TIPS
Holding down the spacebar at the Crafting Bench will allow you to craft a large number of objects at once, rather than needing to click and hold.
If you don’t want to move all of the resources at once, you can split the stacks in half by holding down the right mouse button as you shift-click. Instead, hold CTRL and drag to transfer all items of a specific category, regardless of where they are located in the stacks.
USE THE GRID FUNCTION
You can snap a building to the grid if you keep your hands on the controls while building. This helps you arrange your base in a more aesthetically pleasing manner, with all of your items neatly arranged. Good for OCD sufferers, but it’s also more efficient, and that’s what Satisfactory is all about.
FAQS:
WHERE ARE SATISFACTORY SCREENSHOTS SAVED?
Photo mode screenshots for Satisfactory’s Early Access version are currently saved in the following location:
C:\Users\\Documents\ Take a look at the screenshots in my FactoryGame folder.
Is there a way to beat Satisfactory?
You win the game by creating a Dyson Sphere around a star in the Dyson Sphere Program. But even after “winning,” both of those games have obvious end-game objectives that can be achieved. Satisfactory, as far as I can tell, remains unbeatable at tiers 7 and 8.
![Satisfactory Guide: Beginner Tips and Tricks [2022 Guide]](https://gemaga.com/wp-content/uploads/2022/03/satisfactory-beginner-tips-and-tricks-img_6232e30a37139.jpg)
Is Satisfactory hard to learn?
If you’re looking for a challenging game that doesn’t require a lot of patience, Satisfactory is it! Although it’s simple to pick up and play, it takes a lot of practice to master. If you follow the advice I’ve given you, your life will be a million times easier.
What is the best place to start in Satisfactory?
The Dune Forest is a lovely and resourceful region to begin in, avoiding the dreaded and deadly Blue Crater. As an added bonus, there is a massive Nitrogen cluster in the center of the map, which is ideal for those higher-tier machines.
Nguồn: https://gemaga.com
Danh mục: Guide