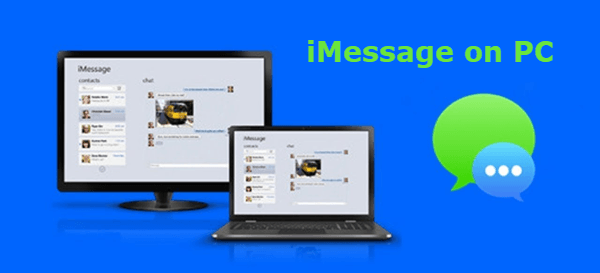
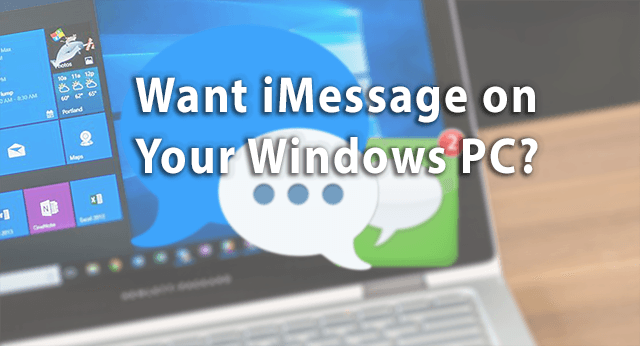
Here’s the quickest and simplest way to get iMessage on your Windows computer. The time has come to begin using iMessage on your computer.
- Animal Crossing: New Horizons Guide – Special Tips and Tricks Update 07/2026
- What Is V-SYNC And Should You Use It? Pros and Cons Update 07/2026
- World Of Warcraft: Shadowlands DPS Rankings Update 07/2026
- How To Use An Anti Static Wrist Strap Update 07/2026
- Starting Out In Valheim: Complete Guide for Beginners Update 07/2026
Similarly, iMessage’s potential for cross-platform compatibility stems from the fact that, unlike most instant messaging apps, there is no browser-based iteration of iMessage. If only you used Android.
Bạn đang xem: How To Get Imessage On Your Pc Update 07/2026
You can get around these limitations and use iMessage on your PC by employing a workaround, but you’ll need access to a MacBook or iMac, which can be expensive. Those who only have access to a PC will be unable to utilize iMessage.
The upcoming PC version of iMessage will have all the same features as the original iOS app, including the ability to send and receive text messages and media attachments.
What is iMessage?
To send and receive messages on your iPhone, iPad, Apple Watch, or Mac, download the free iMessage app. While it didn’t initially support attachments, iMessage has since been updated to support them, along with many other types of messages. It was first released in 2011 alongside iOS 5, but has since expanded to support:
- Messages
- Videos
- Photos
- Stickers
over Wi-Fi to other Apple products.
Apple’s iMessage app functions differently than the one preinstalled on your phone. An over-the-top (OTT) app, iMessage only requires access to the internet rather than cellular data to function. When using Wi-Fi, sending a message also doesn’t cost you anything.
Do not forget that iMessage is an Apple-only messaging app. Sending a blue iMessage to an Android phone will result in the message being sent as a green SMS.
In a situation where you have access to both Wi-Fi and a paid data plan through your phone provider, you may find yourself alternating between iMessage and SMS:
- Using Wi-Fi assumes that you are already connected to the internet.
- With a data plan,
- The Apple ecosystem is built for communication, so if you want to talk to other Apple users
You hate iMessage and you know it. There’s always an option to disable it in the preferences. As of now on, your phone will only send you “green” SMS messages.
iMessage vs. SMS
Although it may seem like it shouldn’t matter whether you send an SMS or an iMessage to your friends and family, there are many factors that determine which option your device will use. It’s helpful to understand how iMessage differs from SMS because both have their advantages and disadvantages.
Short Message Service is an abbreviation for this service. This is the standard method by which text messages are transmitted from mobile devices. SMS messages cannot be sent over Wi-Fi and require a paid texting plan from your mobile provider.
Conversely, iMessage requires that your device be connected to a Wi-Fi network in order to function. As a result of the improved connection, multimedia iMessages sent from your phone will be delivered more quickly. Even though iMessage doesn’t require a texting plan from your phone provider, it won’t work unless you’re within range of Wi-Fi or have a data plan.
The Benefits of iMessage
Some iPhone users may not like iMessage, but the app has many useful features that regular SMS doesn’t have.
- iMessage’s end-to-end encryption will protect your conversations from prying eyes.
- Sharing your location with friends and family on a road trip keeps them informed of your whereabouts and estimated time of arrival via iMessage.
- Tired of typing? Try voice memos. Using iMessage, you can communicate via voice alone.
- You can be sure that your iMessage was received by the recipient if a checkmark appears next to it.
- With iMessage’s read receipts, you’ll also know for sure if the recipient has seen your message.
- Never quit typing in the middle of an iMessage conversation! Dots that appear as the user types in real time indicate whether or not the sender has completed their message.
- Stickers, GIFs, and music are just some of the interactive features: It’s easy to get bored reading text. It’s for this reason that iMessage supports a variety of interactive multimedia features.
- Joining your Apple Pay and iMessage accounts allows you to send and receive payments from your contacts in a streamlined, secure manner.
- You can keep in touch with your kids without having to buy them an iPhone thanks to iPads and instant messaging. A constant line of communication can be maintained with the installation of iMessage on an iPad.
Xem thêm : Atomic Heart Release Date, News, Trailer and Rumors Update 07/2026
Due to its reliance on Wi-Fi, iMessage is also ideal for communicating with loved ones living in other countries. Wi-Fi allows you to stay in touch with your network no matter where they are located in the world, eliminating the need for an expensive international phone plan. Additionally, iMessage backs up to the cloud, so if you upgrade your phone, you won’t lose any of your conversations with friends and family.
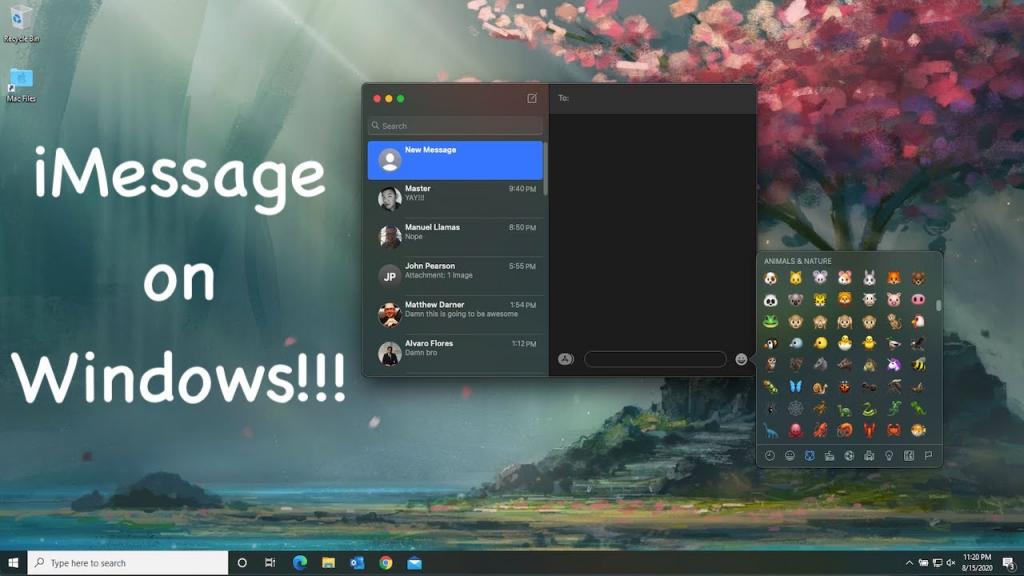
How to Run iMessage on Windows 10?
In theory, Windows 10 does not work with iMessage. However, iMessage can be used with remote access programs that work with Windows. In this way, you won’t have to waste time trying to bridge the gap between Windows and iMessage.
Method 1: Using Chrome Remote Desktop
Chrome Remote Desktop enables web-based iMessage access. Your Windows computer, a macOS system to host it, and an iPhone to send the messages from are all required.
Chrome Remote Desktop allows you to access your computer from any location, so you can leave your Mac running and access its files remotely from a Windows 10 computer.
When you need to check your messages but don’t have access to your Macbook, this is the best option. If you’re using macOS and Google Chrome, the connection won’t be severed even if you quit the browser.
Launch the Google Chrome web browser on both the Mac and the Windows 10 computer, and then download and run Chrome Remote Desktop. An approval prompt will appear on Macs. Let the add-on installation proceed.
A Start Here button will appear after setup is complete. The Chrome Remote Desktop host software can be downloaded by clicking here.
Chrome Remote Desktop for Mac can be reopened with the Enable Remote Connections option selected. If you want to move on to a different Windows screen, you’ll need to set up a PIN or password.
Chrome Remote Desktop for Windows 10 can now be accessed using the same account as the Mac. A screen sharing session can be initiated by clicking this button.
Once you have your Mac in hand, you can launch iMessage and use it however you see fit, including enjoying iMessage games on a more suitable platform.
Method 2: Using iPadian Emulator
In order to use iMessage on a Windows PC, an iPadian emulator is a great option. The $25 tool grants access to all restricted iOS apps, including iMessage.
To get started, grab the iPadian Emulator for Windows from the official site.
After the software is installed, start the emulator. Simply checking the box during setup indicates your agreement to the terms and conditions. The iPad app will then launch. Please use a full-screen mode.
Simply type “iMessage” into the Windows search bar to install the iMessage app and start using all of iMessage’s cool extras on your computer.
Method 3: Using Cloud Service Cydia
Xem thêm : Tony Hawk’s Pro Skater 1 + 2: How To Set Up Multiplayer? Update 07/2026
Cydia provides an alternative method for installing iMessage on Windows. Make sure your Windows computer and iOS device are connected to the same Wi-Fi network before proceeding with this tool. It’s important to know that the Windows version of iMessage costs $4.
- To get Cydia for your iOS device, just visit CydiaFree.com.
- When you’re ready to enable the creation of a new profile, head to Settings > General after the installation is complete.
- A login name and password on your end will be required.
- Next, enter the IP address in your computer’s browser’s “enable” tab.
- To finish the installation, press Enter after entering the required information for the user name and password.
- You can now start chatting with other Windows 10 users via iMessage.
Now that everything is set up, why not try out some of these neat features of the iMessage apps?
Use iMessage Through Remote Access
It’s possible to bring up a Mac and use iMessage from a Windows PC by booting up a remote access screen-sharing program and logging into the Mac from the PC.
A more direct route with fewer hoops to jump through would be to use iMessage on a Mac. If your Mac and PC are in different rooms, or if you want to access your Mac from, say, your work computer, the following workaround may be helpful. Obviously, this assumes that the Mac is turned on.
Setup
- The first step is to download and install iMessage on the Mac. Make sure the Messages app is accessible by clicking the Launchpad icon.
- Also, you can check if Messages is pre-installed by opening a Finder window, going to Applications on the left sidebar, and then searching the list.
- If you haven’t already, go to the App Store, type in “Messages,” and tap “Get.”
- When the installation is complete, select “Messages” from the Finder’s upper left menu and Messages will launch.
- To change your preferences, click the “Preferences” link.
- Navigate to the “Accounts” tab in the Preferences window.
- You can add new content by clicking the plus sign in the upper left, then signing in with your Apple ID and password.
iMessage is associated with a user’s Apple ID and synced across all of their devices, including iPhones, so that all of the user’s messages look the same.
The next step is to install a helpful program called “Chrome Remote Desktop” on both the Mac and the PC. Those of you who are understandably wary can download this app with confidence knowing that Google has thoroughly tested it and created a version that is both safe and reliable.
Because of the encrypted one-time code used to secure the link (which we will discuss in more detail below), no sensitive data will be exposed.
You’ll need Chrome installed on both devices because the app relies on it to establish a remote connection to another computer. In this link, you can get the file to download.
When the download is complete, double-click the executable file on a PC to launch the setup wizard, or open the.dmg file on a Mac to store the program in your application folder.
Installing Chrome Remote Desktop
- Chrome users can search the Chrome Web Store and add extensions directly to Chrome by clicking the “Add to Chrome” button.
- The window describing each app’s features will pop up; in this window, click the “Add app” button.
- The Chrome app’s landing page will load immediately after the extension is installed.
- Chrome Remote Desktop can be accessed by selecting the icon and signing in to an existing Google account or creating a new one.
- Go ahead and tap “Launch App.”
- Visit the Mac and select “Get Started” in the “Remote Assistance” menu.
- Simply click “Download Chrome Remote Desktop Host Installer” and proceed with the on-screen instructions to set up your remote desktop client. As an added layer of protection, you might be asked to verify the installation by entering your unique Mac login information.
- To connect again, open Chrome and look for the desktop icon labeled “Chrome Remote Desktop.” As a result, the app will launch in a desktop browser.
- In the “Remote Help” section, select “Share.”
- Then, Chrome Remote Desktop will produce a random 12-digit code.
- Let’s skip ahead to the Windows computer. Connect by going to “Remote Assistance,” then “Access,” and finally entering the 12-digit code in the field provided.
- Once you’re linked up, you’ll be able to access the Mac’s desktop and use all its features.
- If you want to send a message from your computer using Chrome Remote Desktop, open the “Launchpad” icon in the system tray and click “Messages.”
- You can now use the computer to send and receive iMessages.
Keep in mind that if you turn off the Mac, Chrome Remote Desktop and iMessage will no longer function. This solution, as you can see, is only a stopgap measure that grants you limited iMessage functionality.
Since this is the case, it may be easier to switch to a different instant messaging service that works across platforms or to use iMessage only on Apple devices as intended.
A Word of Caution
Avoid using iPadian or any other third-party app that claims to bring Mac OS X’s features to Windows computers. Our testing has shown that these apps are rife with malicious software and perform poorly at best.
These do more harm than good and are set up to take advantage of users who are searching for a quick fix to an intricate issue.
A similar statement holds true for using a browser to access iMessage on your iPhone after jailbreaking it. It’s a complicated procedure that necessitates some technical training.
The good news is that it adds a ton of personalization choices and access to apps that aren’t included in Apple’s stock iOS.
Nguồn: https://gemaga.com
Danh mục: Guide