A well-rounded support hero that can both inflict pain and heal others, Moira is an excellent choice.
- Raiden Shogun Build Guide For Genshin Impact. Is Raiden Shogun Worth It? Update 07/2026
- Overwatch Zarya Guide: Helpful Tips and Strategies Update 07/2026
- Albedo Build Guide For Genshin Impact. Is Albedo Worth It? Update 07/2026
- How To Monitor Your Gpu And Cpu Temperature Update 07/2026
- Anthem: Storm Javelin Best Loadout – Ultimate Guide Update 07/2026
Although she has a modest health pool and a limited range, Moira is a highly adaptable healer who can fit into nearly any team composition.
Bạn đang xem: Overwatch Moira Guide: Helpful Tips and Strategies Update 07/2026
Overwatch Moira is a talented mad scientist, and in this guide, we’ll go over the finest tips, methods, and strategies for playing the character.
Check out our Overwatch Beginner’s Guide if you’d want to learn more about hero roles, team composition, and winning strategies.
Moira Abilities and Role Explained
Moira is a hybrid support/DPS character with a unique kit based on the concept of giving and taking away life, namely, giving life.
If you want to protect her from being overwhelmed by the opposing side, keep her back or at least keep her out of harm’s way.
Moira’s healing and damage orbs work best in tight spaces, so look for maps with lots of narrow passageways and rooms.
Our guide on how to make the most of the top-tier support hero’s great mobility, potent heals, and dependable damage abilities can be found below.
How To Use Biotic Grasp
As the first weapon in her arsenal, Moira has Biotic Grasp. It is composed of a 15-meter healing cone and a 20-meter draining beam.
Healing in an arc and covering as many teammates as possible in a single burst is more efficient than lingering over your target, which is the default position for novice players.
Waiting or doing harm with her life-drain beam or damage spheres is the only way to restore her meager healing supplies.
As a result, you should be actively attempting to inflict chip damage on your opponents while remaining close to your teammates.
How To Use Biotic Orb
Moira’s Biotic Orb, like Biotic Grasp, can be used to heal or damage your squad, depending on the situation.
If an orb comes into contact with a surface at an angle, it will ricochet off of it and slow down any foes it comes into contact with.
Damage orbs restore Moira’s healing meter more quickly, thus you may want to use these instead of healing orbs depending on the demands of your team.
Healing orbs are your final option for keeping the team alive while the healing spray recharges, or when the opponent is in range of a life-drain beam.
How To Use Fade
Moira’s finest mobility option is Fade, which she can use to get out of perilous situations and catch up to her teammates after reviving.
It has a six-second cooldown and gives Moira a 250 percent speed boost while making her invulnerable to all damage.
Moira’s worst nightmare is being flanked or trapped by an Ult while Fade is still on cooldown.
Fade should be used as defensively as possible to avoid damage, evade opposing Ultimates, and narrow the distance between you and your allies.
How To Use Coalescence (Ultimate)
Xem thêm : Anthem: Enemy Guide. Are there bosses in Anthem? Update 07/2026
Ultimate Moira’s long-range beam heals allies and damages opponents within 30 meters for a total of eight seconds.
With Moira’s entire kit, it’s best used to keep your squad alive during a major offensive drive.
But it can also finish off adversaries with less than half of their health if they aren’t being replenished by opposing supports.
Position yourself so that you can heal and do harm to your teammates and the adversary at the same time.
Moira Strengths
When it comes to healing, Moira is one of the most versatile healers in the game, and she excels in Death Ball teams.
With tanks that can divert the enemy’s attention away from her, she is able to set up shop and keep the squad in the fight.
There are several DPS heroes who can compensate for Moira’s weaknesses, and we’ve compiled a list of the most important ones below.
Moira Weaknesses
A skilled opponent can take advantage of a few of Moira’s flaws, as do all heroes in the game.
When Fade is on cooldown, she becomes further more vulnerable because of her limited health pool, even with the help of life drain.
Overwatch Moira lore
When Moira used to publish a study using genetic alterations to alter DNA at the cellular level, it garnered a lot of attention. Many first hailed her discoveries as ground-breaking since they appeared capable of tackling and advancing some of the current medical hurdles.
Overwatch, for example, distanced itself from her because of her unethical research. Overwatch’s covert ops team, Blackwatch, was called in to deal with the Irish geneticist as a result. With this opportunity, she could continue working on weapons and development technologies for Overwatch even though she was mainly kept in the dark about the fact that she was employed here.
A mission to take down a Talon-linked businessman in Rialto resulted in her efforts being exposed to the public, and Overwatch’s higher-ups fully denied their knowledge of it, driving Moira into hiding.
Talon and the scientists who founded the city of Oasis approached her shortly after these occurrences and recruited her. She served as Talon’s Minster of Genetics, and Talon’s leader, Doomfist, permits her to continue her medical study without restriction.
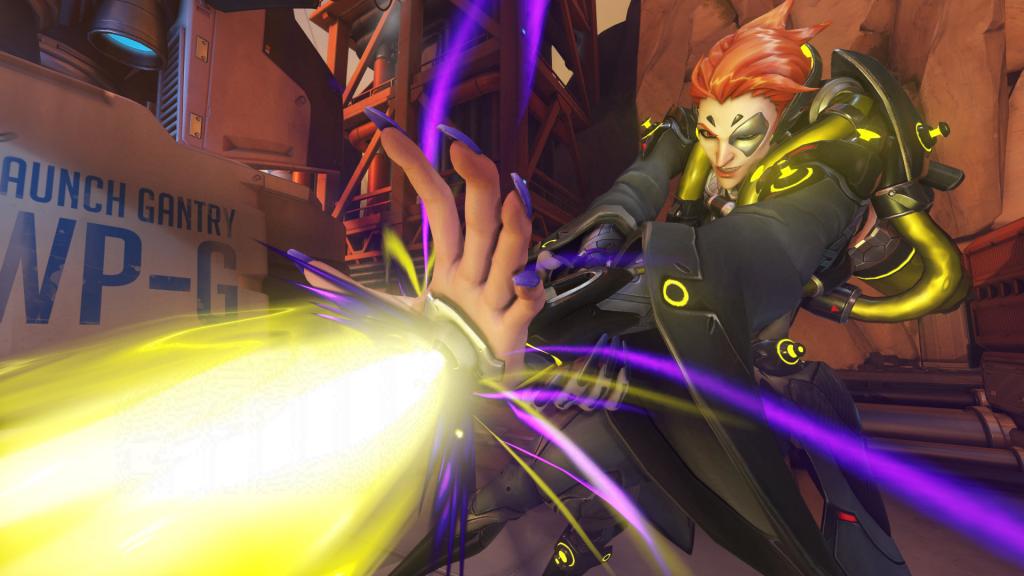
Moira Weapon
With her hands, Moira can employ biotic energy to heal and energy beams to drain her victims of their vitality. Her weapon is unique among the roster’s gun-wielding members.
You’ll run out of energy if you’re constantly tending to other people’s wounds. With this in mind, you’ll use your energy beams in order to re-establish your healing abilities.
But on the other hand, if you put all your energy into doing damage, you’ll run out of steam. A well-rounded approach to using Moira’s weaponry is necessary if you want to maximize their potential.
Biotic Grasp (Left hand)
- Healing: 70 per second, followed by an additional 35 over 2 seconds.
- Distance: 15 meters.
- Biotic energy ammunition, 160 rounds.
- An ammo use rate of 12.5% per second.
- An instantaneous casting time of just 0.1 seconds.
- The length of the video is 2 seconds.
There are no barriers to the ability of this skill to travel through either allies or adversaries.
Biotic Grasp (Right hand)
- 100 per second in harm is inflicted.
- Healing occurs at a rate of 20 times per second (this only affects Moira).
- The maximum range is 20 meters (65 feet).
- Ammo: Infinite.
A player’s damage does not affect Moira’s healing in any way; the two are absolutely unrelated and cannot be combined.
Overwatch Moira abilities
It doesn’t take long for Moira’s Ultimate ability to fill up.
Biotic Orb
- Dozens of times each second, up to 200.
- There is a cap of 300 healings per second, and the healing rate is 65 per second.
- It travels at a rate of 20 meters per second.
- Damage orbs have a maximum range of 4 meters and 5 meters, respectively (healing orb).
- A maximum of seven seconds is permitted (until depleted).
- 8 second cooldown.
Biotic Orb is a boosted variant of Biotic Grasp, the initial skill. A massive ball of energy will instead be launched by Moira, which can either heal or harm, just like her major weapons. It will have a rapid rebound off of surfaces like floors and walls as it reacts to its surroundings.
Fade
- Speed up by a whopping 250 percent.
- Distance: 15 meters.
- This lasts for 0.8 seconds.
- Six seconds of cooldown.
NOTE: Moira’s second ability allows her to temporarily evade damage by hiding in the shadows. It may be used to travel fast forward, backward, and to bounce off of small objects, and it also removes damage and status effects over time. The ability prevents her from attacking, however.
Moira’s Ultimate Ability: Coalescence
- In the blink of an eye, 70 people are killed.
- Regeneration: 140 x 50 = 140 times faster than normal (self).
- Move Speed is boosted by 50%.
- To the nearest 30 meters.
- 0.5 seconds of casting time.
- The video is 8 seconds long.
Xem thêm : Pubg Reshade Guide Settings Update 07/2026
Notably, Moira’s Coalescence ability is capable of piercing opposing defenses, unlike her other abilities. It also has the ability to heal and damage at a greater distance.
How to play Moira: tips
She is an unusual support hero in that she focuses on movement and positioning rather than excellent aiming mechanics.
When playing O’Deorain, aiming takes a backseat to mobility, timing, and positioning in the map.
When it comes to Moira, here are some general pointers:
- To avoid running out of juice, it’s best to switch back and forth between healing and damage.
- In order to get the most out of the Biotic Sphere, we recommend firing both orbs in the same direction. This reduces the risk of it bouncing off a surface.
- When you’ve gotten the hang of using Biotic Orb, try firing them at the ceiling or into a corner. In the event that it bounces between the ceiling and the floor, firing it this way will keep it relatively still.
- You’ll gain a little extra speed if you jump right out of Fade before you leave it.
- When you’re stunned, hold down the Fade button and it will activate as soon as the situation has passed.
- Because Coalescence’s damage output isn’t particularly significant, it’s best to devote your efforts into healing rather than dealing damage to foes or teammates.
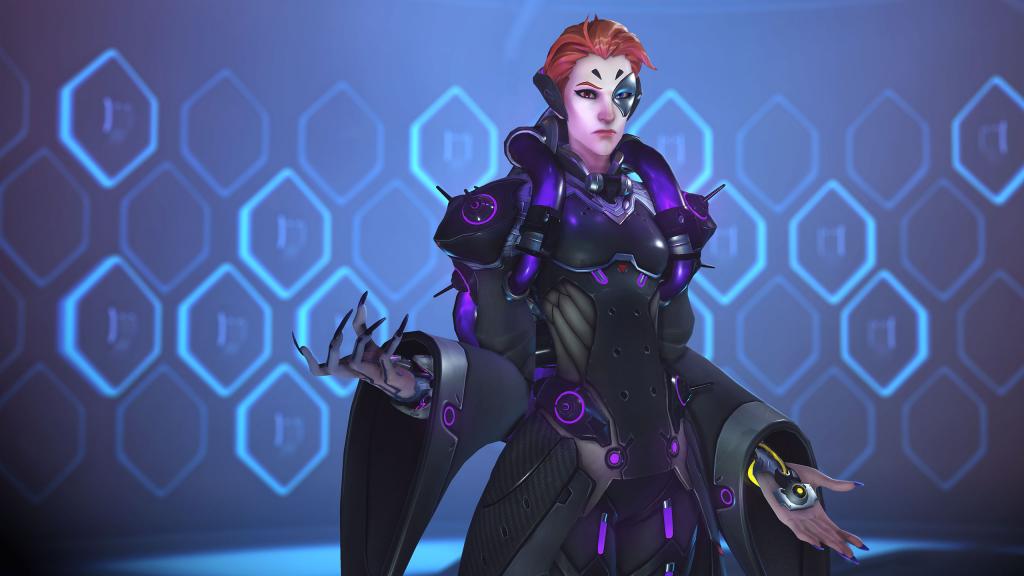
Overwatch Moira skins
Moira’s Kit
“Biotic Grasp” really refers to two separate abilities that share the same name. Moira’s primary and secondary fires can be used at any time to either harm or heal her allies. At a rate of 80 healings per second, she is incredibly powerful (Mercy heals for 50 healing per second in comparison). Healing beams pierce across 15 meters of comrades and heal them simultaneously. As long as she has enough Biotic Energy (the meter on her crosshair), she can use it.
You must inflict damage on her secondary fire to reclaim Biotic Energy. This is a destructive beam that causes 50 damage per second and cannot be absorbed by D.Va’s Defense Matrix or deflected by Genji. In addition, it has a 20-meter operating range. Your Biotic Energy is replenished every second by the secondary fire, therefore you should aim to inflict damage whenever possible.
It is possible for Moira to shoot either a healing or a damaging projectile that bounces off walls and depletes as it hits either allies or foes. The damaging orb can do up to 200 damage while the healing orb can restore up to 300 health. Tossing them in a way that they bounce toward adversaries or allies is something you should practice. The cooldown is 10 seconds.
In the game, fade is one of the best ways to get about. In less than half a second, Moira vanishes into thin air. Ana’s anti-grenade or Widowmaker Venom Mine damage, she dashes in a certain direction and washes herself of them. It’s a great tool for getting closer to people or escaping.
In addition to its unique animation, Coalescence is Moira’s wordy ultimate ability. It can also be incredibly powerful if used correctly. Enemies take 70 damage per second while allies restore 140 health points per second when you use this ability. It is also a means of healing. The trick is to position yourself so that your 30-meter-long beam hits both your teammates and your foes at the same time. Fast charging means you can use it a lot more frequently.
Damage or Healing
In the course of playing Moira, you’ll frequently wonder if it’s better to heal or do harm. Maintaining Biotic Energy requires both healing and causing harm to your comrades. Tap her heel instead of holding it in place. As she heals, she will weave her secondary fire into the mix. So you won’t overheal your teammates and you’ll get a few Biotic Energy boosts in the process.
It’s broken down like this. Your squad can only do damage if it is outnumbered by the opponent team. The more enemies you kill, the more damage you can deal, and the more low-health opponents you can target. Prioritize your team’s healing if it’s the other way around and you’ve suffered a defeat yourself. Anything can happen. A member of your squad may use an ultimate or a few valuable picks to even the playing field in your favor.
Moira’s Biotic Orbs fall under this category as well. In order to keep your companions rooted to the spot, aim your healing orbs in the general direction of where you anticipate they’ll go, or straight down at their feet. Do not utilize a healing orb for any purpose other than to power up before a fight or to finish off an opponent who is fleeing the scene of the crime. Biotic Orbs make up for Moira’s primary fire’s inability to heal indefinitely. If you use them wisely, you won’t have to worry about running out of healing.
Positioning as Moira
At her finest, Moira is close to and behind the rest of her team. You want to be with the most clumped-up teammates to hit numerous individuals at once because her heals pass through all allies. The tank-heavy and immovable nature of Moira’s squad composition makes her an excellent choice. Moira is difficult to play when it’s stacked with flankers like Tracer and Genji, or even heroes like Pharah. She is unable to regularly reach all of those heroes.
Coalescence’s value is maximized when you’re seated behind your team and within striking distance of the adversary, much like her regular healing. You can use this ultimate to get the kills and keep your squad alive by combining it with another destructive skill. If you’re low on Biotic Energy or simply don’t have the time to restore your colleagues before they die, this is a great option to have on hand. Compared to Zenyatta’s Transcendence and Lucio’s Sound Barrier, Coalescence is more forgiving and can be used to save a single target.
What to Practice
It’s important to keep track of Moira’s cooldowns because she’s an agile healer. With a depleted Biotic Energy pool or without the use of a Fade to divert the Tracer’s attention, you risk losing allies. Moira’s cooldowns should be planned out ahead of time. You can use a Biotic Orb now, but isn’t it better to wait until your team is in range of the adversary before using it?
Why waste your Fade when you may instead use it for evading the Genji? The fluidity of her powers may be seen if you take a time to think about why you’re employing them. In addition, you’ll always be able to heal your companions.
Moira’s job can include Fading into the opposition squad and eliminating your final remaining opponents. For that, she’s an asset! However, this is not her major role. Rather than a flanker, your squad requires a healer in the support role. Taking out characters like Mercy or a mech-less D.Va, who pose no threat to her, will often result in a victory thanks to her low damage per second. It’s not Moira’s job to take care of it. It’s a strategy that should be used with caution.
Moira frequently finishes a match with a gold medal total in eliminations and healing. Medals aren’t always a sign of success. You can have too many kills but not enough heals, or the other way around. How many of your teammates are still in the game? Keep an eye on the kill stream. That information will help you determine what to do next. Play for more than just yourself. Pay attention to where your allies are and what actions they do, just like you would with any other sort of support. Even if it means putting yourself in a less-than-ideal position to aid them, do your best.
Despite being one of the most popular characters in the game, Moira is still underappreciated by many. In many different maps, she’s an excellent choice for a wide variety of compositions. She has a lot of potential, but lacks some utility. She’s a pain to capture, and she’s much more of a pain to hurt than she can heal. The other support heroes will look like scum if you play Moira well, so be true to her character.
FAQS:
Which Heroes Combo Best With Moira?
- The shield provided by Reinhardt allows Moira to work from behind and provides bursts of healing.
- Moira’s mobility is boosted by Lucio, who also offers additional healing.
- Her offensive prowess is comparable to Moira’s and she can keep flankers at bay.
- Zarya – Moira is able to play more aggressively because of Zarya’s protective walls.
- In order to land a deadly blow on an enemy, Reaper can use Moira’s heals to move closer to the target.
How can I be a good Moira in Overwatch?
When it comes to Moira, here are some general pointers:
- You’ll quickly run out of power if you only use one of your abilities: healing and damaging.
- When using Biotic Orb, aim for a straight line when firing both orbs to get the best possible output.
When should I play Moira Overwatch?
When it comes to Moira’s ultimate, it’s a cinch to utilize. It’s a powerful beam that can damage and heal teammates at the same time. Try to employ this during battles where both the enemy and the ally are crowded together. Healing should always come first, although Coalescence can be used to take out foes with low health.
Nguồn: https://gemaga.com
Danh mục: Guide